
Importing & Opening
Project Summit was designed to view and build a summary of a multi-thousand-activity-schedule from Primavera P6 (.XER). Files from NetPoint (.NPZ, .NPT, .NP4, and .XML) are technically supported but have not been the focus.
Please ensure that the project was scheduled and the data was “summarized” after the latest changes were made in P6 and BEFORE exporting it as an XER file.
Importing
Launch the application and click the Import button in the sidebar on the left

Browse for the desired file and click Open
Potential Errors
Error | Message | Tips |
|---|---|---|
Duplicate Calendar Names | The following names are used for more than one calendar. Please modify the names to be unique and re-import the schedule. | |
Import Failed | File "###.###" failed to import due to "######". Please contact support@pmatechnologies.com. | The file could be missing information related to calendars, resources, resource rates, codes, WBS, predecessors/successors, documents, or UDFs. If so, it cannot be opened. |
Opening Project
Projects are stored in a local, pre-configured database (SQLite), which is setup during the Project Summit installation process. For the time being, the database cannot be discovered by any other computers nor can Project Summit look for other databases.
Project Summit features a comprehensive autosave process. Every minute, all changes made during the prior minute are written to the database except for changes to the display/view/layouts. While the changes are being written, “Saving…” appears after the project name in the title bar. Once complete “Saved” appears until the next change is made.
Launch the application
If you’re already looking at the schedule, click the Project Summit icon :Summit: first
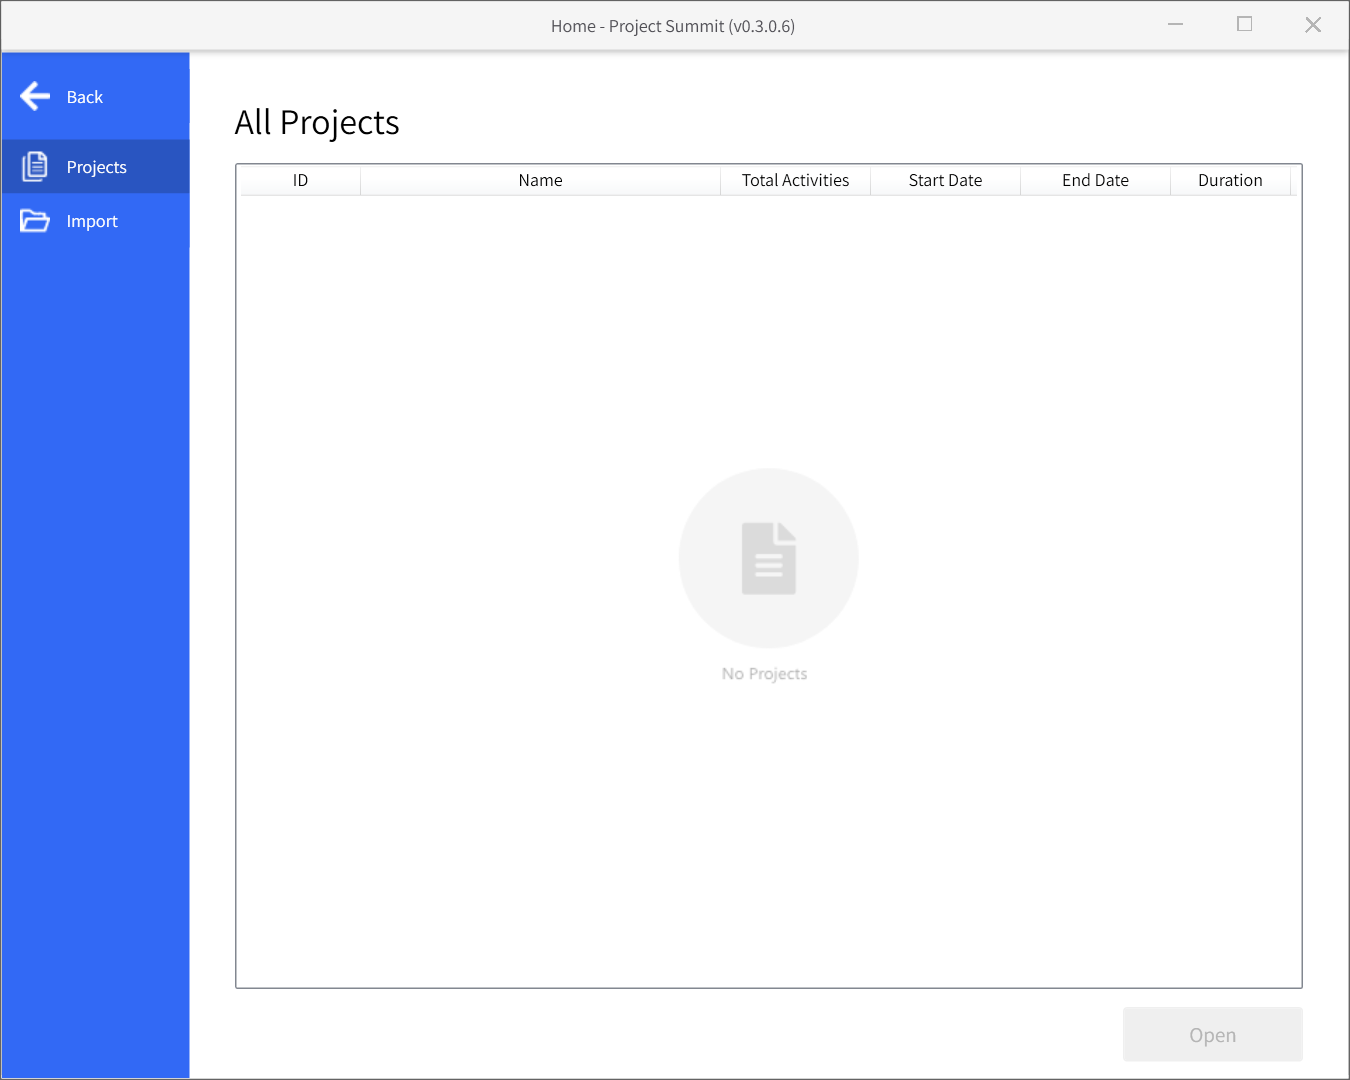
On the All Projects page, select the project from the list and click the Open button below.
Deleting a Project
If you’re already looking at the schedule, click the Project Summit icon :Summit: first
On the All Projects page, right-click on a project from the list and choose Delete Project from the menu.
In the confirmation window, click Delete.